According to jquery.com, jQuery is a fast, small, and feature-rich JavaScript library. It makes things like HTML document traversal and manipulation, event handling, animation, and Ajax much simpler with an easy-to-use API that works across a multitude of browsers. With a combination of versatility and extensibility, jQuery has changed the way that millions of people write JavaScript. jQuery is an external library written in JavaScript code and is what is referred to as a "cross-browser library". What this means is that it simplifies how to do things with JavaScript in different browsers. Simply stated, jQuery simplifies JavaScript code and enables developers to accomplish the same tasks with less code.
This tutorial will walk you through the basics of how to execute jQuery commands, where to access jQuery libraries, and will demonstrate how to utilize jQuery on your site. This demonstration will walk you through setting up a simple animation. Understanding the proper syntax is key to understanding jQuery. jQuery can do much more than animations and I would encourage you to explore more about jQuery through the links provided at the end of this demo. Let's get started.
First, in order to complete this demonstration, you will need an HTML document with a simple h1 tag. Using your preferred code editor, create an HTML document with an h1 tag. If you have not yet selected a code editor, or are not familiar with what a code editor is, this article from Creative Bloq provides a good explanation of what code editors are, the benefits of using a code editor, and goes over some of the strengths and weaknesses of commonly used code editors.
In order to utlize jQuery, you need to locate a jQuery CDN (content delivery network) and add the link location into your HTML document in a script tag. Let's start with locating our jQuery CDN. First, navigate to the jQuery CDN.
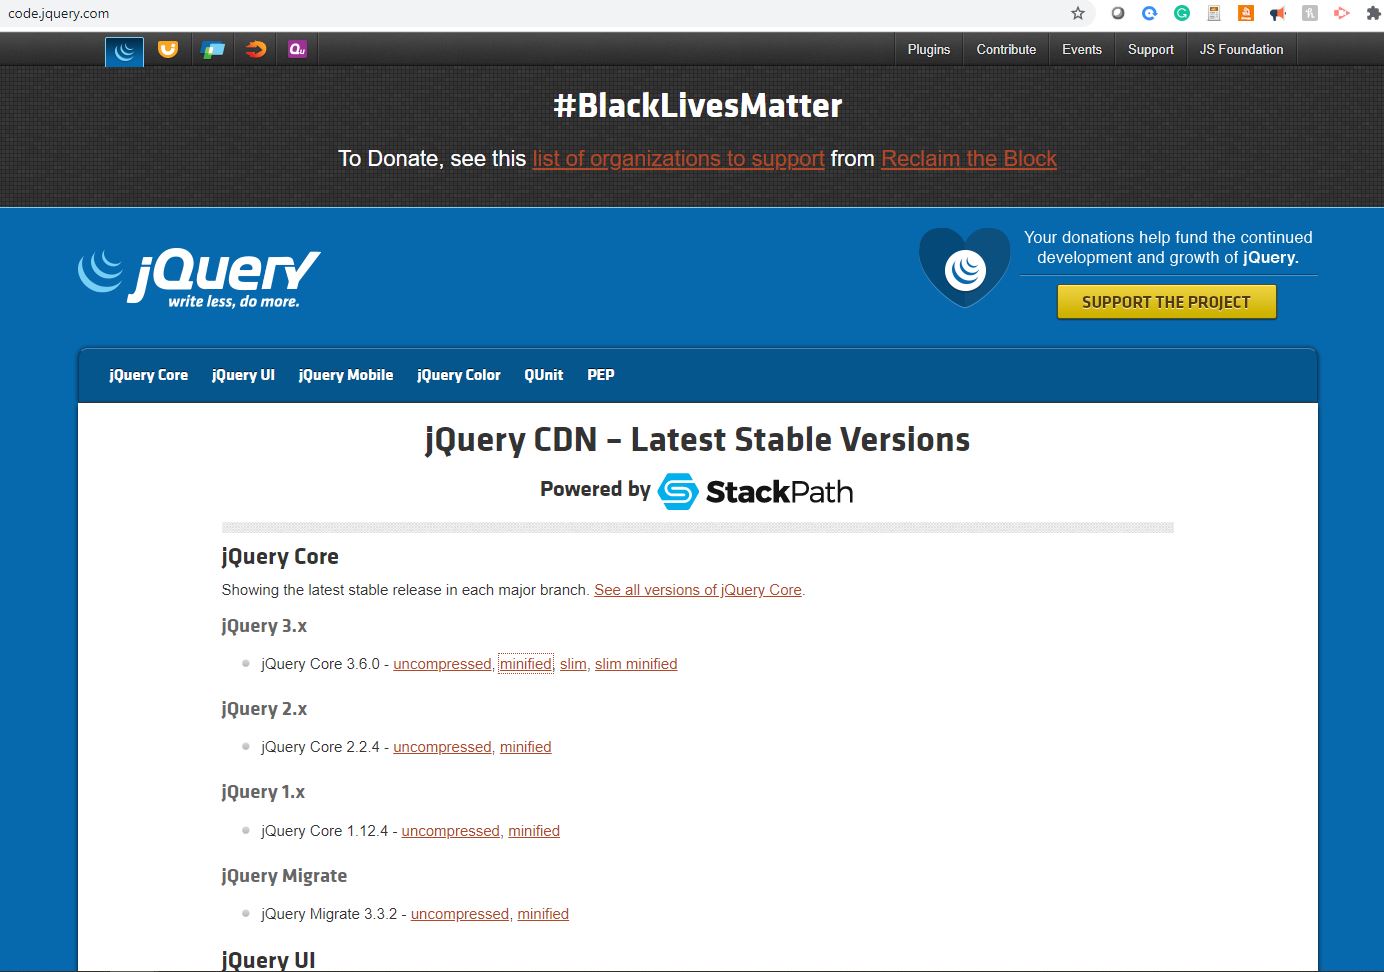
Once there, you'll be presented with several options. Different versions of jQuery libraries provide differing levels of support for browsers. See the table below for details on this:
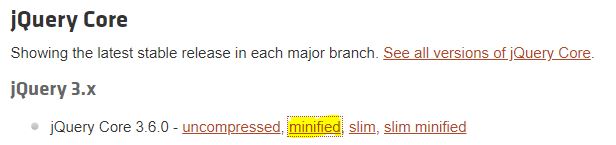
As you can see from the screenshot above, there are several options including an uncompressed, minified, slim, and slim minified. Minification is the process of minimizing code and markup in your web pages and script files. It's one of the main methods used to reduce load times and bandwidth usage on websites, so best practice to save bandwidth is to use a minified version.
There are two ways to incorporate a jQuery library into your project. You can download the file or you can link to the library in your HTML document. Best practice is to link to the library. The reason for this is that sometimes the jQuery library may be cached in a site visitor's browser cache. This means that the file will not need to be downloaded again, which means less bandwidth utilization and a better user experience.
Let's assume we know our audience is comprised of web developers, who are using the most updated versions of a modern browser, and select jQuery Core 3.6.0 minified by right clicking on the word "minified" and selecting Copy Link Address.
Return to your HTML document and insert a script tag with the src property into the head of your HTML document.
<script src=""></script'>;
Paste the web address you copied from the jQuery CDN between the quotation marks and then 💾 Save your document. Your HTML document should now look like this:
            <!DOCTYPE html>
            <html lang="en">
            <head>
            <script src="https://code.jquery.com/jquery-3.6.0.min.js"></script'>;
            </head>
            <body>
            <h1>jQuery is fun!</h1>
            </body>
            </html>
Let's make sure everything is working. Navigate to the webpage we're building in this demo and open your browser's inspector by right clicking in the document window and selecting "Inspect" or "Inspect Element". Navigate to the Console and type the dollar sign and press enter. Depending on which browser's developer tools you're using, you will see a return of the function definition as shown on the table below:
Now, let's see what we can do with jQuery. This demonstration will show you how to add some animation to your website. For our code demonstration, we have an html document with an h1 tag. We will select our h1 tag using proper jQuery syntax. Selecting in jQuery is similar to in CSS except that with jQuery, we use a $ at the beginning of our selector. The dollar sign ($) is an alias for the jQuery library. The proper syntax for selecting our h1 tag utilizing jQuery is:
$("h1");
Now that we have our h1 tag selected, lets do something with it. Let's use jQuery to animate our h1 tag. First, let's go over the proper syntax for jQuery animations, which is as follows:
$(selector).animate({params},speed,callback;
To understand this better, let's set animation up to utilize our selector in the body of our HTML document using the following code:
            <script>
             $(document).ready(function() {});
            </script>;
Let's talk about what this code means. On line 1 of our code, we open our script tag for a jQuery function, much like we do for a regular JavaScript function, with the <Script> tag. The next line in our code, line 2, calls the document with the "$(document)" text, then tells the document that upon page load, execute the following function. The syntax for this is ".ready(function)({})". Line 3 of our code closes the script tag. We then split our function open:
            <script>
             $(document).ready(function() {

             });
            </script>;
Select our h1 tag, and tell it what we want it to do:
            <script>
             $(document).ready(function() {
                 $("h1").hide().slideDown(1000)
             });
            </script>;
As you can see, we first use the $ to begin our jQuery command, then the parentheses and quotation marks to call our selector, h1. The next step is to declare what animation we want to use, .hide(), set the paramaters, .slidedown, and specify a speed, (1000). Speed is specified in milliseconds, so this animation will take 1000 miliseconds, or one second, to complete.
💾 Save your HTML document and reload your webpage in your browser to see the animation in action, or click the Demonstration to see the animation load in another tab.
A more visual demonstration of this code can be accessed on JSfiddle.
There is much more that can jQuery can do. The W3C schools provides an easy to follow tutorial on their website.
For a more in depth explanation of what jQuery can do, the jQuery API Documentation page has lots of useful information and in depth explanations.